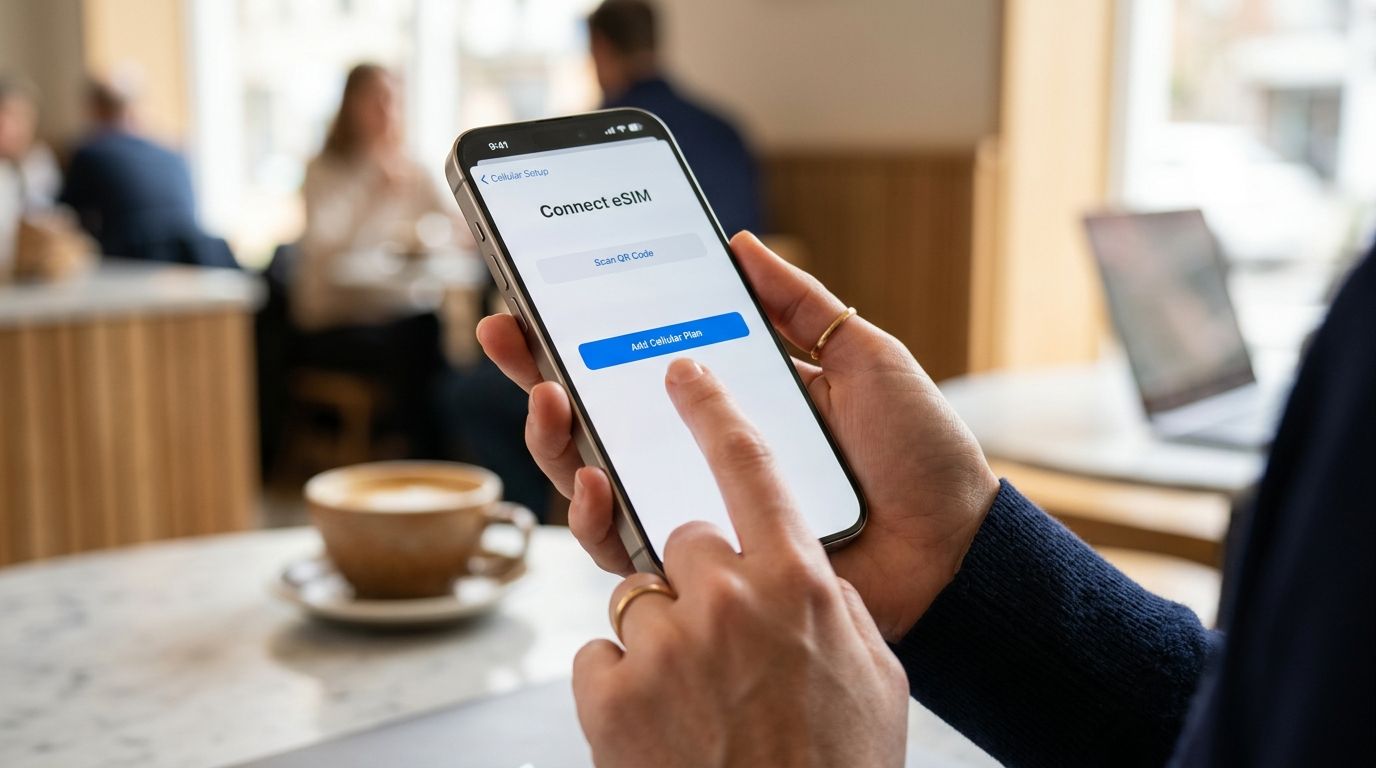
You bought an eSIM for a trip. Now your Android phone needs to actually recognize it, load the profile, and start pulling data the second you land — without you fumbling through settings menus at the arrivals gate. This guide walks through the exact Android setup for A-sim, both the QR scan method and the manual code entry, plus the fixes for the handful of things that actually go wrong.
- A-sim installs on Android through Settings > Network & internet > SIM in under 5 minutes with Wi-Fi and a QR code or activation code.
- Most failed installs in 2026 trace back to no internet connection during setup, not a bad eSIM.
- Dual-eSIM Android phones can run A-sim alongside a home SIM profile — set A-sim as the data line, keep the other for calls and texts.
- Manual code entry works when the QR scanner won't load, and it takes the same amount of time.
Why this matters
eSIM installs fail more often from process mistakes than from device incompatibility. Google's own Android eSIM documentation confirms the profile download requires an active internet connection before you can use it for data — meaning you have to install A-sim on Wi-Fi or another cellular connection, never after you've already lost signal in a new country. Get the order of operations right once and every future eSIM install on that phone takes under 3 minutes.
Before you start
- Confirm your phone supports eSIM. Most Android flagships from 2020 onward do (Pixel 3 and later, Galaxy S20 and later, and most unlocked models sold outside carrier lock programs) — carrier-locked phones sold on installment plans are the common exception.
- Get on Wi-Fi before you touch anything. The eSIM profile download itself needs data; installing it after you've landed with zero signal is the single most common setup failure.
- The gotcha: some Android phones cap the number of eSIM profiles they'll store (often 5-10), and a couple only activate one eSIM at a time even if several are stored. If your phone is already juggling old test or carrier eSIMs, delete the ones you don't use before adding A-sim — otherwise the install can silently fail or bump an existing profile.
Once your A-sim eSIM is purchased through the app or a-sim.io, you're ready to install it.
Set up the A-sim QR scan install
- Open Settings on your Android phone.
- Tap Network & internet (on some Samsung phones this is Connections).
- Tap SIMs or Mobile network, then tap Add eSIM or Add mobile plan.
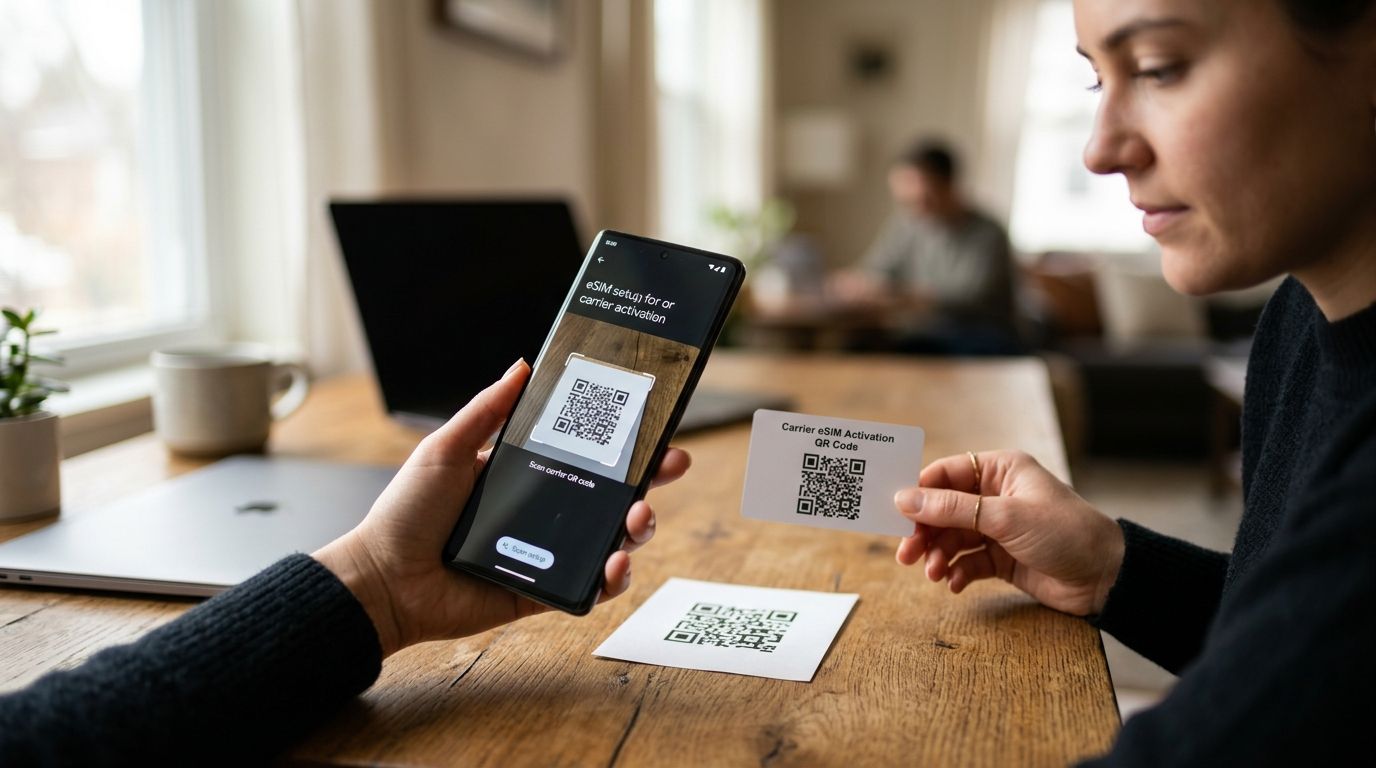
- Select Scan QR code when prompted.
- Point your camera at the A-sim QR code from your confirmation email or the A-sim app.
- Tap Confirm or Add once the phone reads the code and downloads the profile.
- Give it your eSIM a nickname (e.g. "Japan A-sim" or "Europe A-sim") so it's easy to spot later.
Expected result: the new eSIM line appears in your SIM list with a signal indicator once you're in coverage. It won't show bars until you land in the destination the plan covers.
Configure A-sim as your data line
- Back in Network & internet > SIMs, tap the A-sim entry.
- Toggle Mobile data on for A-sim.
- If you're keeping your home SIM active for calls, turn Mobile data off for that line so you don't get charged roaming rates by accident.
- Turn on Data roaming for the A-sim line specifically — this step trips up more people than any other, because Android treats roaming as off by default even on a plan built for that exact country.
- Set A-sim as the Default for mobile data if given the option.
Expected result: a data icon (LTE, 5G, or similar) shows next to the A-sim line once you're in the covered region, and apps start loading over cellular with Wi-Fi off.
Install A-sim without scanning a QR code
Some A-sim confirmations arrive as a manual activation code (SM-DP+ address plus a long activation number) instead of, or alongside, a QR image. Use this when your camera won't scan, when you're installing from a screenshot, or when your carrier disables the built-in scanner.
- Go to Settings > Network & internet > SIMs > Add eSIM.
- Tap Enter it manually instead of scanning.
- Enter the SM-DP+ address and activation code exactly as they appear in your A-sim confirmation — no spaces before or after.
- Tap Add and wait for the download to finish.
- Follow the same data-line configuration steps above.
This manual path takes the same amount of time as the QR scan and produces an identical result — it's a backup method, not a downgrade.
Troubleshooting
- "Couldn't scan" or blurry QR error: switch to manual entry above rather than retrying the scan repeatedly — screen glare and screenshot compression are the usual culprits.
- eSIM installs but shows no signal: you're not yet in the coverage region the plan is built for. A-sim plans activate on network detection in-country, not at install time.
- No data despite full bars: data roaming is off for that line. Recheck the toggle in Network & internet > SIMs > A-sim > Roaming.
- "Maximum number of eSIMs reached" error: remove an old or unused eSIM profile under Settings > Network & internet > SIMs before adding A-sim.
- Calls and texts stopped working after activation: you likely set A-sim as the default for calls too. Set your home SIM back as default for calls/SMS and leave A-sim as the default for data only.
Customize your workflow
Once A-sim is installed, top up data through the app before you run low instead of waiting for a hard stop — carriers rarely warn you at zero. If you travel to more than one country per trip, install a separate A-sim eSIM per region rather than one plan stretched across borders; check the best eSIM plans ranked by data speed breakdown if you're deciding between regional and single-country coverage for an upcoming route.
If you're mapping out a longer trip with a dense day-by-day schedule, the connectivity setup is only half the plan — the itinerary logistics matter just as much, and a detailed breakdown of planning a luxury Croatia itinerary shows how a 15-day route gets structured around transit days, which is exactly when you want your eSIM already active and tested before departure.
Android users specifically should check device compatibility before buying — not every unlocked Android phone handles multiple stored eSIMs the same way, and the best eSIM for Android travelers guide covers which models handle dual-eSIM setups cleanly in 2026.
FAQ
How do I connect an eSIM to Android in 2026?
Go to Settings > Network & internet > SIMs > Add eSIM, then scan the A-sim QR code or enter the activation code manually while connected to Wi-Fi. The profile downloads in under a minute on most 2026 Android devices.
Does every Android phone support eSIM?
No. Most unlocked flagships from 2020 onward support eSIM, but many carrier-locked or installment-plan Android phones have eSIM disabled at the software level. Check your phone's specific settings menu for an Add eSIM option before buying a plan.
Why does my A-sim eSIM show no data after installing?
Data roaming is almost always off by default for a newly added eSIM line. Turn on Data roaming specifically for the A-sim line under Network & internet > SIMs.
Can I use A-sim and my home SIM at the same time on Android?
Yes, most modern Android phones support dual-SIM with one physical or eSIM line for calls and A-sim as the dedicated data line. Set A-sim's mobile data toggle on and your home SIM's data toggle off to avoid roaming charges.
What do I do if the QR code won't scan?
Switch to manual entry inside the Add eSIM flow and type in the SM-DP+ address and activation code from your A-sim confirmation exactly as provided. This produces the same result as scanning.
Do I need internet to install an eSIM?
Yes. The eSIM profile has to download over an active internet connection, so install A-sim on Wi-Fi or existing cellular data before you travel, not after you've already lost signal.
How many eSIMs can an Android phone store?
It varies by device, often between 5 and 10 stored profiles, though many phones only run one active eSIM at a time. Delete unused profiles if you hit a maximum-reached error installing A-sim.
Is A-sim better for Android or iPhone?
A-sim installs the same way on both platforms through native settings menus, though the exact menu names differ slightly between Android's Network & internet and iOS's Cellular settings.
One last thing
Install A-sim before you leave home, not at the airport. The download needs internet, airport Wi-Fi is inconsistent, and testing the connection on your home network means any troubleshooting happens with full signal instead of on a jet bridge with 4% battery.