Swapping physical SIM cards at every border, hunting for a kiosk at 2am, or getting hit with roaming fees the moment you land — all of that disappears when you install a travel eSIM straight from your phone. Instead of manually buying a local SIM at each airport, you set up A-sim once and your iPhone switches to local data the second you land, no store visit required.
- Connect eSIM to iPhone in under 3 minutes using iOS Settings or the A-sim app QR flow.
- A-sim installs in one tap on any eSIM-compatible iPhone (XS/XR 2018 or newer) running iOS 12.1+.
- Keep your physical SIM active for calls and texts while A-sim handles data as a second line.
- Top up or switch regions inside the A-sim app without touching Settings again.
Why this matters
Physical travel SIMs mean lost cards, wrong sizes, and a locked phone if the carrier requires a PIN you don't have. An eSIM lives in software, so the install is the entire setup — no ejector tool, no waiting for a kiosk to open.
For iPhone users specifically, Apple has supported eSIM since the iPhone XS and XR in 2018, and every iPhone released since ships with the same Settings > Cellular flow. That means the steps below work the same whether you're on an iPhone 13 or the newest 2026 model.
Before you start
- Confirm your iPhone is eSIM-compatible and carrier-unlocked. iPhone XS, XR, or newer running iOS 12.1 or later supports eSIM; a carrier-locked device from certain US carriers may block a second eSIM line entirely.
- Connect to Wi-Fi before you install. The eSIM profile downloads over data or Wi-Fi, and doing it before you leave home avoids burning through hotel Wi-Fi or airport data caps mid-install.
- The gotcha: after installing, iOS defaults data usage back to your physical SIM unless you manually set the new eSIM as your data line. Skip that step and you'll land, see a signal bar, and still get charged home-carrier roaming.
Get your A-sim eSIM ready first, either through the A-sim app or the website, then follow the steps below in order.
Set up your A-sim eSIM install
- Open the A-sim app or website and choose your destination — global, regional, or single-country plans are all available for iPhone travelers.
- After checkout, A-sim generates either a QR code or a one-tap install link sent to your device.
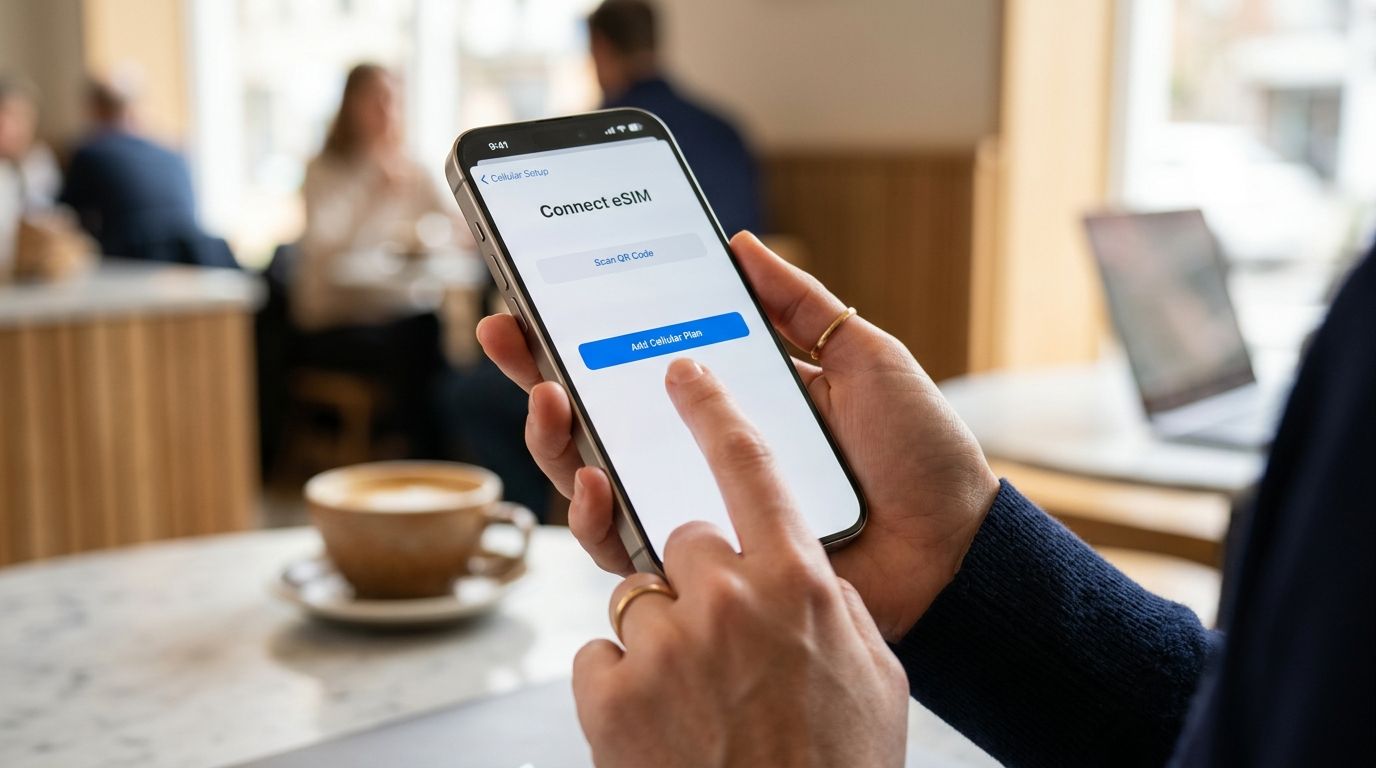
- On your iPhone, go to Settings > Cellular > Add eSIM.
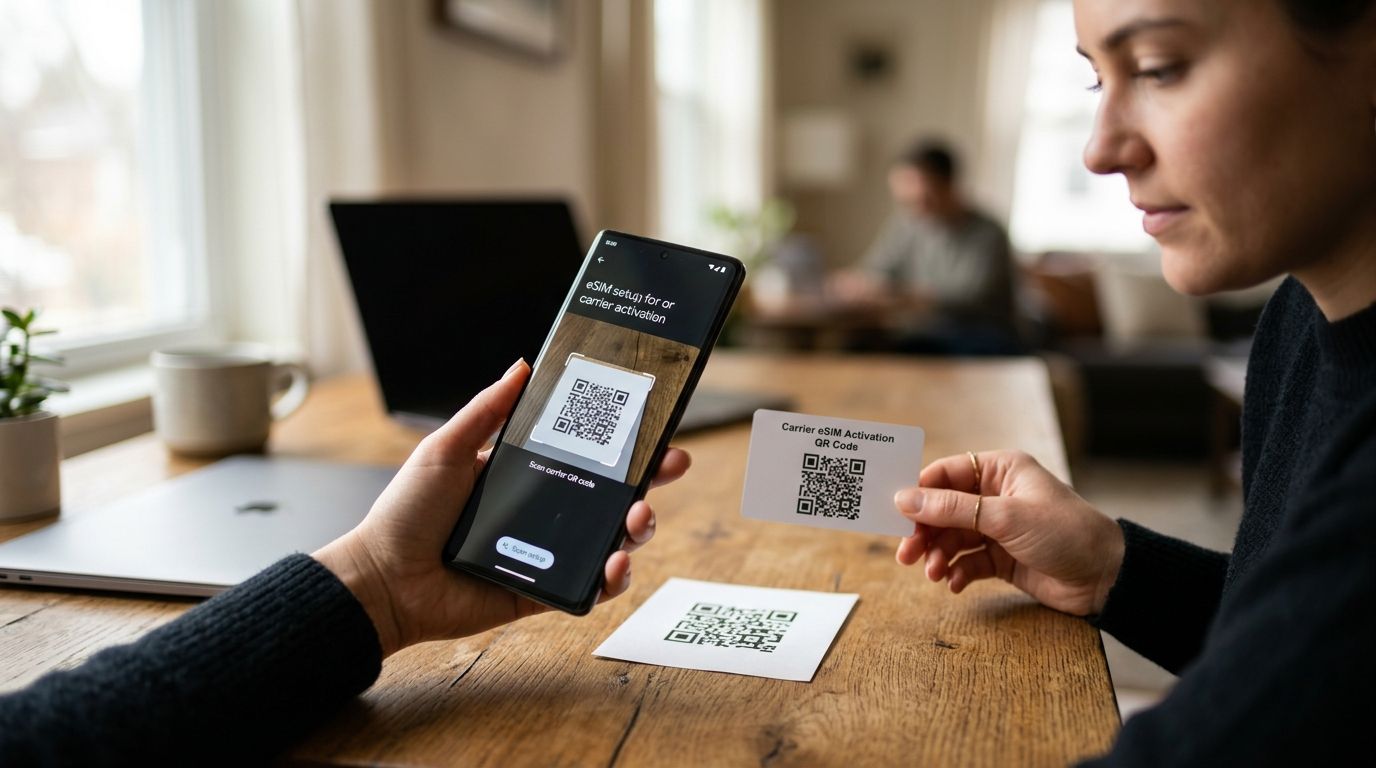
- Tap Use QR Code and scan the code on screen, or tap Use Details Instead if A-sim sent you a manual install link.
- Wait for the Cellular Plan Added confirmation screen — this usually takes under 30 seconds on Wi-Fi.
Expected result: a new line appears under Settings > Cellular labeled with your A-sim plan name.
Configure your data line and labels
- Tap into the new A-sim line under Cellular Plans.
- Rename it under Cellular Plan Label — something like "A-sim Travel" makes it obvious at a glance.
- Go back to the main Cellular screen and tap Cellular Data, then select your A-sim line.
- Turn on Data Roaming for the A-sim line specifically — this is the step most people skip.
- Under Default Voice Line, leave your home SIM selected if you still want calls and texts on your original number.
Expected result: your status bar shows two active lines, with data routing through A-sim and calls staying on your home number.
One-tap install via the A-sim app (alternate method)
If you'd rather skip Settings entirely, the A-sim app supports a direct install flow: after purchase, tap Install eSIM inside the app and iOS opens the carrier profile screen automatically with the QR step already completed. This is the faster path when you're mid-trip and just bought a new regional plan — no camera scan needed.
Troubleshooting
- "This eSIM could not be added" error: almost always a Wi-Fi drop mid-download. Reconnect to a stable network and repeat the Add eSIM step.
- No signal after landing: confirm Data Roaming is on for the A-sim line specifically, not just enabled globally — each line has its own roaming toggle.
- Phone still shows home carrier charges: check Default Line for Cellular Data under Settings > Cellular — it may have reset to your physical SIM after a software update.
- Can't scan the QR code: use Use Details Instead on the Add eSIM screen and enter the activation code manually from the A-sim app.
- App shows plan as active but no internet: toggle Airplane Mode on for 10 seconds, then off — this forces the iPhone to re-register with the local network.
Get your travel eSIM in one tap
Install directly from the A-sim app or website before you fly.
Customize your workflow
Once the install works, the rest is management, not setup. Top up data inside the app when you're running low instead of buying a new plan, and switch between regional and global plans depending on your route. If speed matters more than country coverage, compare options in plans ranked by data speed before you commit to a single-country plan for a multi-stop trip.
For round-the-world itineraries or long layovers across regions, it's worth setting up more than one A-sim profile in advance so you're not re-scanning a QR code from an airport lounge in 2026.
FAQ
How do I connect an eSIM to my iPhone?
Go to Settings > Cellular > Add eSIM, then scan the QR code from the A-sim app or website. The whole process takes under a minute on Wi-Fi.
Which iPhones support eSIM?
iPhone XS, XR, and every model released since 2018 support eSIM, provided the device runs iOS 12.1 or later and isn't carrier-locked against a second line.
Can I use eSIM and my physical SIM at the same time?
Yes. iPhones support Dual SIM with one physical SIM and one eSIM active together, so you can keep your home number for calls while A-sim handles data.
Why isn't my eSIM data working after I land?
Data Roaming is usually off by default on a new eSIM line. Check Settings > Cellular > your A-sim line and turn Data Roaming on.
Do I need Wi-Fi to install an eSIM?
Yes, install the eSIM profile over Wi-Fi before you travel. Mobile data can work but Wi-Fi is faster and avoids using your home data plan for the download.
Can I top up my A-sim eSIM without reinstalling it?
Yes. Top-ups happen inside the A-sim app on the existing profile, so you never need to scan a new QR code for the same plan.
What happens if I lose signal with an eSIM?
Toggle Airplane Mode on and off for 10 seconds to force the iPhone to re-register with the local network, which resolves most signal drops after landing.
Is eSIM setup different for Android vs iPhone?
The core steps are similar but menu names differ. iPhone uses Settings > Cellular > Add eSIM, while Android phones typically use Settings > Network & Internet > SIMs.
One last thing
Most failed installs in 2026 trace back to one setting, not a bad eSIM: Data Roaming left off on the new line. Before you board, open Settings > Cellular, tap your A-sim line, and confirm that toggle is on — it's a 5-second check that prevents the most common "I landed and have no internet" support message.