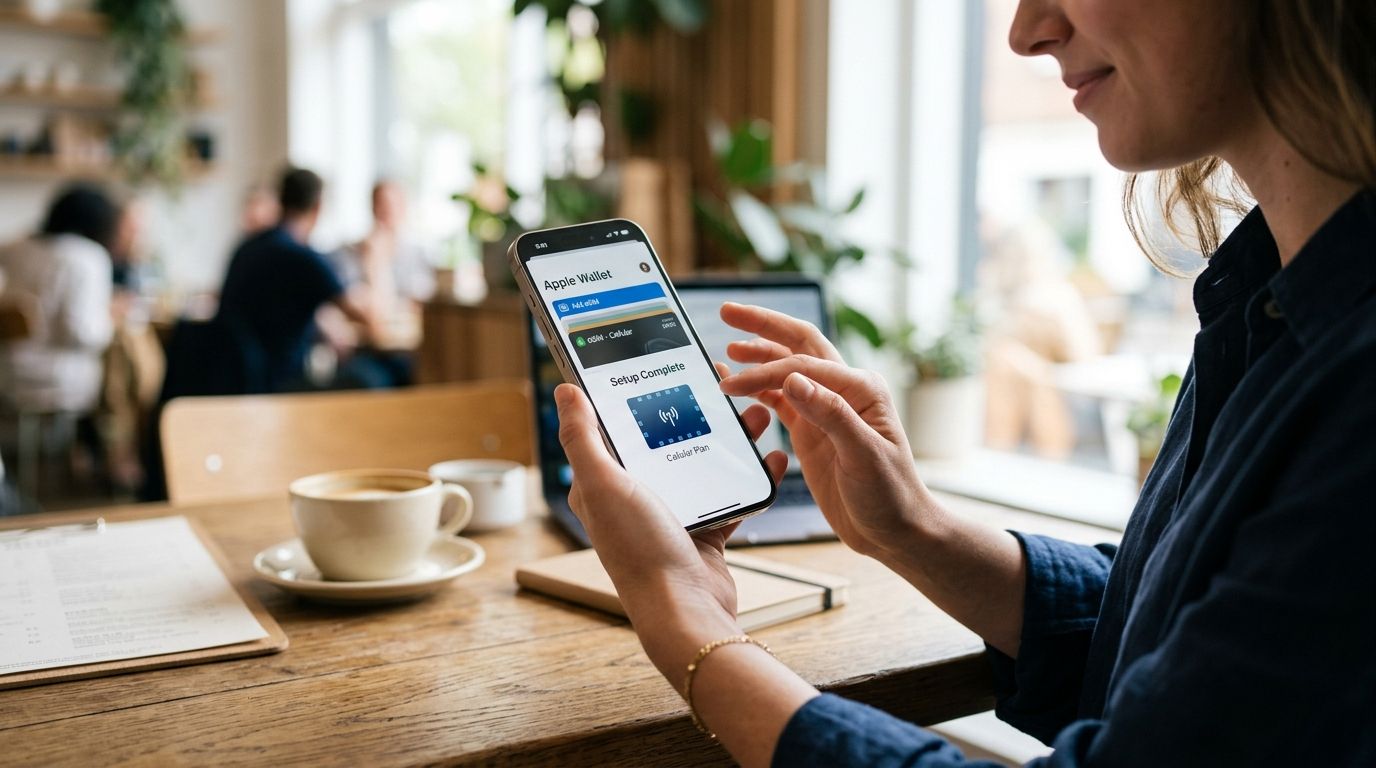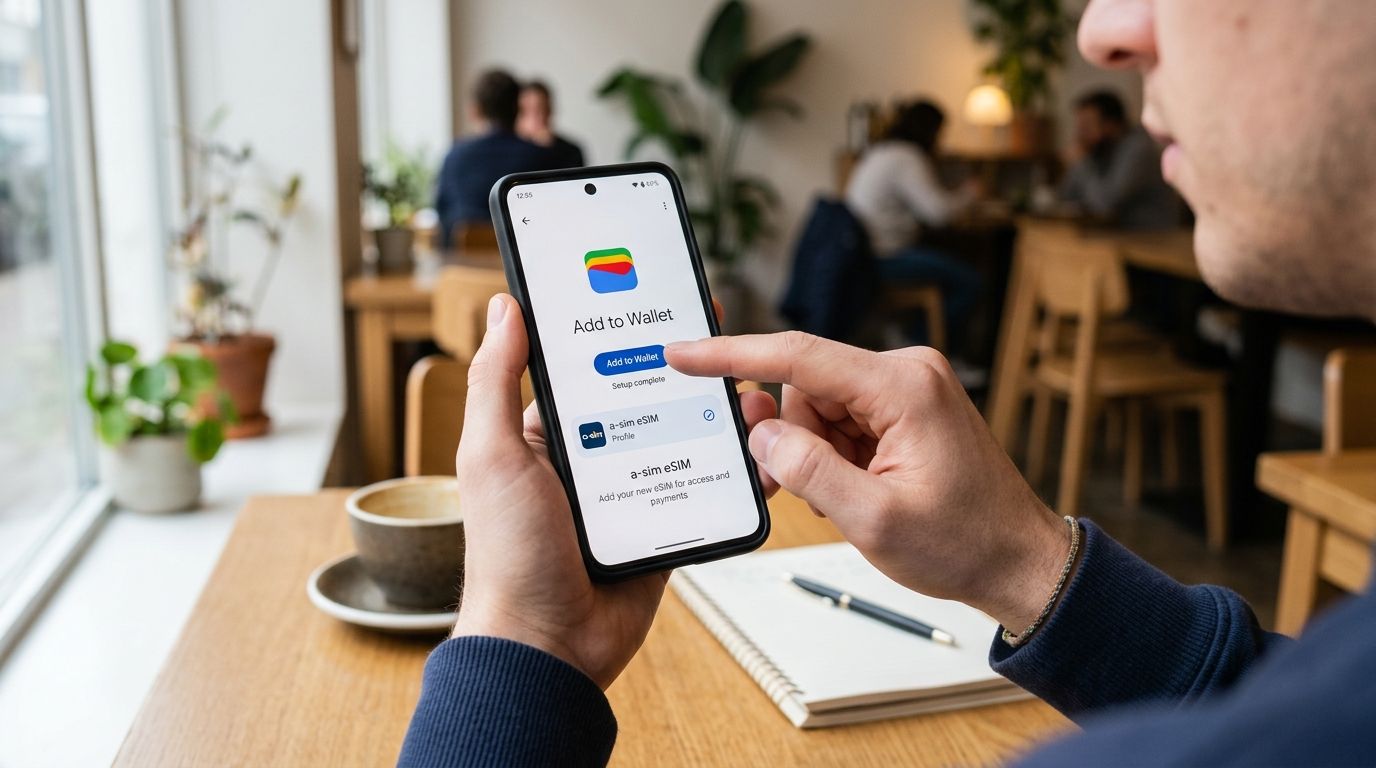
Manually hunting for a physical SIM kiosk at the airport wastes an hour you don't have — install an A-Sim eSIM on your iPad before you board and it's already connected when you land.
- Connect eSIM to iPad in under 5 minutes using Settings > Cellular > Add eSIM, no physical card needed.
- Only iPad models with cellular capability (Wi-Fi + Cellular versions from 2018 onward) support eSIM.
- A-Sim installs via QR code or a one-tap link from the app, then activates automatically at your destination.
- Data roaming has to be toggled on manually inside the new plan's settings or your iPad stays offline.
- Manage usage and top up the same eSIM through the A-Sim app without touching Settings again.
Why this matters
An iPad without cellular data on a trip is just a slab of glass once the hotel Wi-Fi cuts out. eSIM support on iPad has existed since 2018, but Apple buries the setup inside three menus, and most travelers only find out their eSIM never activated after they've already left home Wi-Fi behind.
Getting the connect eSIM to iPad workflow right the first time means you land, your iPad picks up a signal within minutes, and you never touch Settings again for the rest of the trip. A-Sim builds the install process around a single QR code or one-tap link specifically so the multi-step Apple flow doesn't trip people up mid-airport.
Before you start
- Confirm your iPad has a cellular model. Wi-Fi-only iPads have no eSIM slot at all — check Settings > General > About > Model Number, or look at your original box. This is the one gotcha that stops people cold: no cellular hardware means no eSIM, period, and there's no workaround.
- Connect to Wi-Fi before you start. The eSIM profile downloads over an internet connection — do this at home or on hotel Wi-Fi, not standing in an airport with no signal.
- Have your A-Sim order confirmation open. Whether you bought through the app or the website, you'll need the QR code or activation link from that confirmation, plus your Apple ID signed in on the device.
Set up your A-Sim eSIM on iPad
- Open Settings on your iPad and tap Cellular (labeled Mobile Data on some regions).
- Tap Add eSIM, then choose Use QR Code.
- Point your iPad's camera at the QR code from your A-Sim order confirmation, or tap Enter Details Manually if you received an activation link instead.
- Tap Continue, then Add Cellular Plan when the plan details appear.
- Choose a label for the new line — Travel or Secondary works fine — so you can tell it apart from your home carrier line.
- Set Default Voice Line to your primary carrier (iPad doesn't make calls, but this field still appears) and set Cellular Data to the A-Sim line for the trip.
Expected result: Settings > Cellular now shows two lines, with the A-Sim line marked active and a signal indicator appearing once you're within range of a supported network.
Configure data roaming and APN settings
- In Settings > Cellular, tap the A-Sim line you just added.
- Toggle Data Roaming to on — this is the step almost everyone skips, and it's the reason a freshly installed eSIM shows zero bars abroad.
- Confirm Turn On This Line is enabled.
- Leave APN settings on automatic unless the A-Sim app or confirmation email specifies otherwise.
Expected result: the cellular signal icon at the top of the screen switches from your home carrier to the A-Sim network name within a minute or two of landing.
Installing a second A-Sim eSIM for your next trip
iPad supports multiple eSIM profiles even though only one can carry cellular data at a time. Instead of deleting last trip's A-Sim eSIM, install the new one under a fresh label and just switch which line carries data:
- Repeat the QR code or one-tap install process above for the new destination's A-Sim plan.
- In Settings > Cellular, tap Cellular Data, then select the newly installed line.
- Leave the old eSIM installed and toggled off rather than removing it — reinstalling a used QR code doesn't always work if the original activation already expired.
This matters most for round-the-world itineraries or anyone crossing several countries in one trip, since swapping the active line takes 10 seconds versus a full reinstall each border crossing.
Get your iPad eSIM before you fly
Order through the app or website and install with one QR scan.
Troubleshooting
- QR code won't scan. Increase screen brightness on whatever device is displaying the code, or switch to Enter Details Manually and type in the activation code from your confirmation email instead.
- "Cellular Plan Not Supported" error. This usually means the iPad is a Wi-Fi-only model or is carrier-locked to a specific network — check the model number in Settings > General > About.
- No signal after install. Confirm Data Roaming is toggled on for the A-Sim line — this is the single most common cause of a "connected but no data" state.
- eSIM installed but data won't turn on. Restart the iPad. iOS occasionally needs a reboot to fully register a new cellular profile.
- Ran out of data mid-trip. Top up directly through the A-Sim app rather than reinstalling anything — the existing eSIM profile just needs more data allocated to it.
Customize your workflow
Once the eSIM is live, managing it stays inside the app: check remaining data, top up before it runs out, or see which network you're connected to without opening iPad Settings at all. If you're setting up an iPhone on the same trip, the process is nearly identical — see how to connect A-Sim to your iPhone in one tap for the phone-side walkthrough, or connect A-Sim to an Android phone if your travel companion carries Android.
For trips with heavier data needs — video calls, cloud backups, streaming while working remotely — compare options on the eSIM plans ranked by data speed page before you order, since not every plan tier is built for the same usage pattern.
FAQ
Can every iPad connect to an eSIM?
No, only iPad models with cellular capability support eSIM — Wi-Fi-only iPads have no eSIM hardware at all. Check Settings > General > About > Model Number to confirm which version you own before ordering a plan.
How do I connect eSIM to iPad without a physical SIM tray?
Go to Settings > Cellular > Add eSIM > Use QR Code, then scan the code from your A-Sim order confirmation. No physical card or tray is involved at any point.
Why does my iPad show no data after installing the eSIM?
Data Roaming is usually still switched off on the new line. Open Settings > Cellular, tap the A-Sim line, and toggle Data Roaming on.
Can I keep my home carrier eSIM and add A-Sim at the same time?
Yes, iPad can hold multiple eSIM profiles, though only one carries cellular data at a time. Switch which line is active under Settings > Cellular > Cellular Data.
Do I need Wi-Fi to install an A-Sim eSIM on iPad?
Yes, the eSIM profile downloads over an internet connection, so install it on home or hotel Wi-Fi before you travel rather than waiting until you land.
How do I top up A-Sim data on iPad once I'm abroad?
Open the A-Sim app and top up the existing plan directly — you don't need to reinstall the eSIM or touch iPad Settings again.
What happens if I delete the A-Sim eSIM by mistake?
Most QR codes only activate once, so a deleted eSIM usually can't be reinstalled with the same code. Contact A-Sim through the app for a replacement rather than rescanning the original.
One last thing
The line most people skip in the whole connect eSIM to iPad process is the Data Roaming toggle — everything else in setup can go perfectly and the iPad still shows zero bars until that one switch is flipped. Check it before you leave Wi-Fi, not after you've landed and the signal isn't showing up.