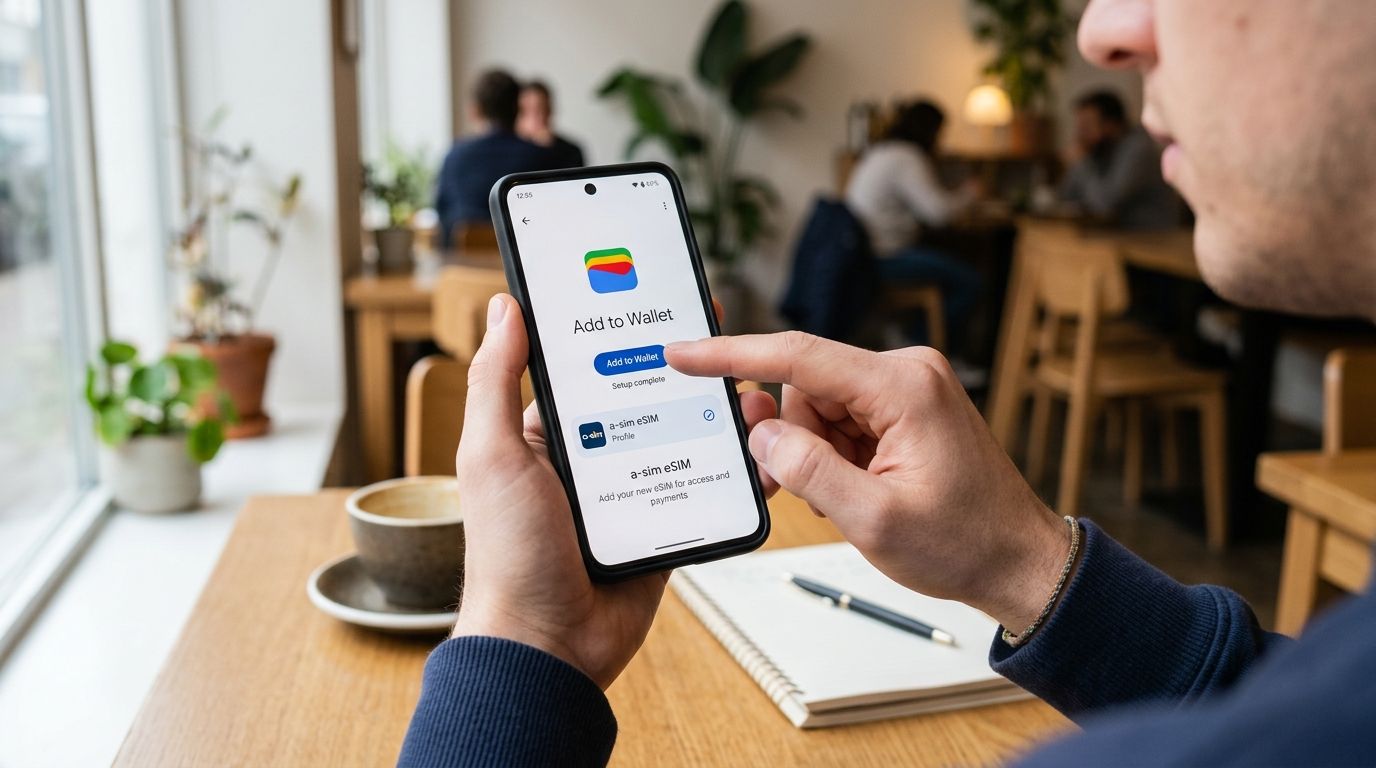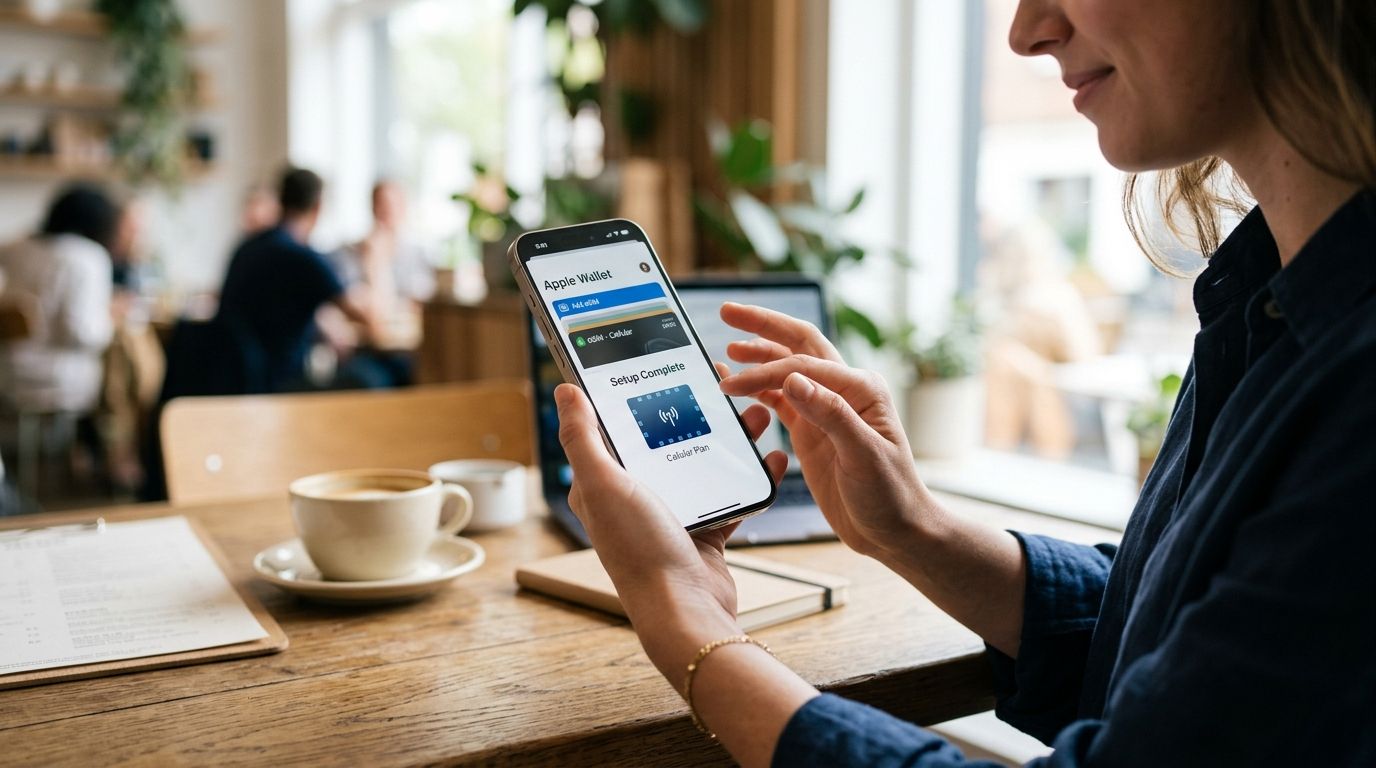
Most travelers assume eSIM setup means digging through Apple Wallet like a boarding pass. It doesn't. Instead of hunting for a card that doesn't exist there, you install your A-Sim eSIM straight through iPhone Settings in under two minutes, and your data connection is live before you land.
- iPhone has no esim apple wallet feature — eSIMs install through Settings, not Wallet, in 2026.
- A-Sim's one-tap install activates a data eSIM in under 2 minutes on iPhone XS or newer.
- You need Wi-Fi and iOS 12.1+ before starting; cellular-only install can fail mid-download.
- QR code and manual code entry both work if the app link doesn't trigger the install screen.
- Label your new line immediately or it defaults to a generic name that's easy to mix up.
Why this matters
The phrase esim apple wallet shows up constantly in search because people expect eSIMs to behave like Apple Pay cards or event tickets — tap Wallet, tap add, done. That's not how cellular works on iOS in 2026. Apple routes every eSIM install through the Cellular settings menu because it's provisioning a phone line, not storing a payment credential.
Knowing this before you start saves a frustrating five minutes of tapping around Wallet looking for an option that was never going to appear. The actual A-Sim install is faster than digging through the wrong menu anyway.
Before you start
- An unlocked iPhone running iOS 12.1 or later — carrier-locked phones won't accept a second eSIM profile.
- A stable Wi-Fi connection for the install step itself — do not attempt this on cellular data or a spotty airport network, the download can time out partway.
- The gotcha: once an eSIM profile is installed, it cannot be AirDropped or transferred to a second device. If you buy your A-Sim eSIM on your laptop but plan to install it on a different iPhone than the one you're browsing from, generate the QR code and scan it from the second device's camera — don't try to move the activation link after the fact.
Get your A-Sim QR code or activation link
- Open the A-Sim app or complete checkout on the website.
- Choose your destination plan — global, regional, or single-country.
- Once payment confirms, A-Sim delivers either a QR code or a direct install link, depending on your device.
- Keep this screen open, or have the confirmation email pulled up on a second device if you're scanning with your iPhone's camera.
Expected result: you're staring at either a scannable QR code or a tappable install button, tied to one specific iPhone.
Install the eSIM through iPhone Settings
- Go to Settings > Cellular (or Mobile Data outside North America).
- Tap Add eSIM.
- Tap Use QR Code and scan the code A-Sim gave you, or tap Enter Details Manually if scanning fails.
- Wait for the Cellular Plan Added confirmation — this usually takes 15-30 seconds on Wi-Fi.
- When prompted, choose which line is your Default Line for calls and iMessage, and which handles data. Most travelers keep their home SIM as default and set the new A-Sim line as the Cellular Data line.
Expected result: your new plan appears under Settings > Cellular with a signal bar and a data toggle, active and ready.
Label and activate your plan
- Tap into the new line under Cellular.
- Tap Cellular Plan Label and rename it something recognizable — a destination name beats the default Secondary label.
- Toggle Turn On This Line if it isn't already active.
- Confirm Data Roaming is on if your plan is regional or global — this is the single most common reason a freshly installed eSIM shows no signal.
Expected result: the label you chose now shows in your status bar dropdown, and mobile data starts pulling the moment you land in the destination.
Installing via manual code entry instead of QR
If you're activating on the same device you used to buy the plan, scanning a QR code on your own screen doesn't work — the camera can't read its own display. Use the Enter Details Manually option instead:
- From the confirmation email or app screen, copy the SM-DP+ address and activation code.
- In Settings > Cellular > Add eSIM > Enter Details Manually, paste both fields.
- Tap Next and let the install run the same as the QR path.
This variant matters more than it sounds — most first-time A-Sim users buy the plan on the same phone they're installing it on, and the QR path fails there without an obvious explanation.
For the version of this walkthrough written from a fresh-install standpoint, the A-Sim one-tap iPhone connection guide covers device-model details this page doesn't.
Troubleshooting
- The Add eSIM option is missing entirely. Your iPhone is either carrier-locked or running iOS older than 12.1 — check Settings > General > About for the version, and contact your carrier about lock status.
- QR scan says it cannot scan. You're likely scanning it on the same device that generated it. Switch to Enter Details Manually.
- Plan installs but shows No Service. Data Roaming is almost always off. Go back into the line's settings and toggle it on.
- Data won't connect after landing. Toggling Airplane Mode on and off from Control Center clears this in most cases.
- Two eSIMs are both active and draining battery. iPhone supports two active lines but only one on data at a time; turn off the unused line under Cellular to stop background scanning.
“If the install fails on the first QR scan, it's almost never a bad code — it's a device trying to scan its own screen.”
Customize your workflow
Once the base install works, most travelers want to manage the line without opening Settings every time. The A-Sim app handles top-ups, usage tracking, and plan switching from one screen, so the iOS Settings menu becomes a one-time stop rather than a recurring chore in 2026.
If you're comparing this against an Android setup for a mixed-device household, the steps diverge enough that it's worth reading the Android eSIM connection guide side by side before you travel as a group.
FAQ
Can you add an eSIM to Apple Wallet?
No. Apple Wallet stores cards, passes, and tickets — eSIM profiles install through Settings, then Cellular, then Add eSIM instead. The esim apple wallet search is a common misconception, not a real iOS feature in 2026.
How do I install my A-Sim eSIM on iPhone?
Open Settings, go to Cellular, tap Add eSIM, then scan the QR code A-Sim provides or enter the activation details manually. The line activates within about 30 seconds on Wi-Fi.
Why does my eSIM show no service after installing?
Data Roaming is usually switched off by default on a new eSIM line. Go into the line's Cellular settings and toggle Data Roaming on if you're using a regional or global plan.
Can I transfer an eSIM to a different iPhone?
No, eSIM profiles are tied to the device they're installed on and cannot be AirDropped or copied. You need a fresh QR code or activation link for each device.
Does installing an eSIM remove my existing SIM?
No, modern iPhones support two active lines at once. Your physical SIM or existing eSIM stays intact while the new A-Sim line runs alongside it for data.
What iPhone models support eSIM installation?
iPhone XS and later support eSIM, running iOS 12.1 or newer. The iPhone X and earlier models do not have eSIM hardware.
Why can't I scan my own eSIM QR code?
A phone's camera cannot scan a code displayed on its own screen. Use the Enter Details Manually option under Settings, Cellular, Add eSIM instead.
One last thing
The biggest source of support questions in 2026 isn't the install — it's forgetting to switch Data Roaming on after activation, which makes a perfectly installed eSIM look broken. Check that toggle before you assume anything failed.