
Instead of chasing separate data-balance screenshots, use one family organiser, a traveller-to-plan record, and scheduled usage checks to manage family esim plans one account at a time. Start by confirming which plans your account can manage: a shared login does not make an eSIM transferable or create a shared data allowance.
- To manage family esim plans one account, confirm multi-plan access before assigning each traveller a separate installation.
- A-sim supports travel eSIM usage checks and top-ups through its app; keep those actions tied to the correct plan.
- Family eSIM management needs a traveller-to-phone record, not a shared installation code.
- Choose organiser-led checks for coordination; choose individual checks when travellers need independent account access.
Why this matters
A-sim travel eSIMs are best for travellers who want app-based usage management and top-ups. You can access travel eSIMs through the A-sim app or website, with global, regional, and single-country options. Family coordination still requires you to match each plan to its intended phone.
For your 2026 trip, separate three jobs: account administration, phone installation, and mobile-data use. The person arranging the trip can coordinate all three, but each phone needs the correct settings and installation instructions.
A family organiser is not the same thing as a family dashboard. Only treat the account as a central control point for plans it actually lets you view and manage. Do not assume that family permissions, pooled data, remote phone settings, or automatic top-ups come with ordinary account access.
Before you start
- Account access and installation instructions: Have the organiser's account access, each intended traveller's phone, and the instructions for each purchase. Confirm that the account permits purchases and management for the intended recipients before committing to that arrangement.
- Compatible, unlocked phones and internet access: Check eSIM support for each exact device and its carrier-lock status. Keep a working internet connection during installation, and have another way to get online if a phone's travel data stops working.
- The installation-versus-activation gotcha: Read when each plan's validity begins before installing it. Installation and activation are different events; do not assume every plan waits until arrival, and do not reuse one installation code across the family.
Keep credentials private. One organiser does not require everyone to sign into the same account, and installation details belong with the intended traveller rather than in an open group chat.
Account scope
Confirm what one account can control
- Sign into the account you intend to use for the family trip. Open the account's purchase and plan information without assuming a particular menu name.
- Check whether the account supports the intended arrangement: buying for another traveller, retaining access to that traveller's plan, and managing that plan after installation.
- Establish which actions the organiser can perform. Distinguish viewing usage from adding data, and distinguish both from changing settings on another person's phone.
- Ask the provider to clarify any unresolved account or recipient restrictions before purchasing. Do not test an uncertain arrangement by installing the same eSIM on several phones.
Expected result: You know which plans the organiser can manage directly and which require action by the traveller. Write that distinction into the family record before setup starts.
Choose the right management arrangement
Use this comparison for your 2026 setup. These are coordination methods, not claims about built-in family account features.
| Arrangement | Best for | Benefit | Trade-off |
|---|---|---|---|
| Organiser-led management, where supported | Families that want one person handling account administration | Keeps supported usage checks and top-ups with one organiser | Depends on account permissions; phone settings still need local attention |
| Traveller-led management | Adults who need independent account access | Each traveller checks and manages their own plan | The organiser needs updates to maintain a family overview |
Choose organiser-led management only after confirming the required account access. Otherwise, use traveller-led management with one shared record. That still centralises coordination without pretending separate accounts have become one account.
An organiser-led setup also concentrates responsibility. If the organiser loses access, everyone relying on that person needs a recovery route. Traveller-led management spreads that responsibility, but it demands clearer communication.
Plan mapping
Match each traveller to the correct destination and phone
- Create a private trip record with these fields: traveller, phone, destination, travel dates, plan reference, installation status, and person responsible for top-ups.
- Compare each traveller's actual route with the plan's listed coverage. Select single-country, regional, or global coverage according to the places that person will visit, not the family's longest itinerary.
- Record the plan's data allowance and validity exactly as displayed in the purchase information. Keep those values separate; an unused balance does not establish that a plan remains valid.
- Assign each installation instruction to its intended phone. Use the plan reference to distinguish purchases when several travellers have similar devices or identical destinations.
- Agree on who approves additional data. Record the responsible person alongside the plan rather than relying on a message sent during departure.
Expected result: Every traveller has an identifiable plan, a matching phone, and a named person responsible for usage checks and top-ups.
For the 2026 family record, use 3 matching fields before any installation or top-up: traveller name, phone, and plan reference. This is a checking rule, not a provider requirement. It helps you distinguish similar purchases without exposing account credentials.
Keep the record simple. It should answer who uses the plan, where it must work, and who acts when data runs low; it should not become a second account containing passwords or installation secrets.
Keep the setup sequence visible
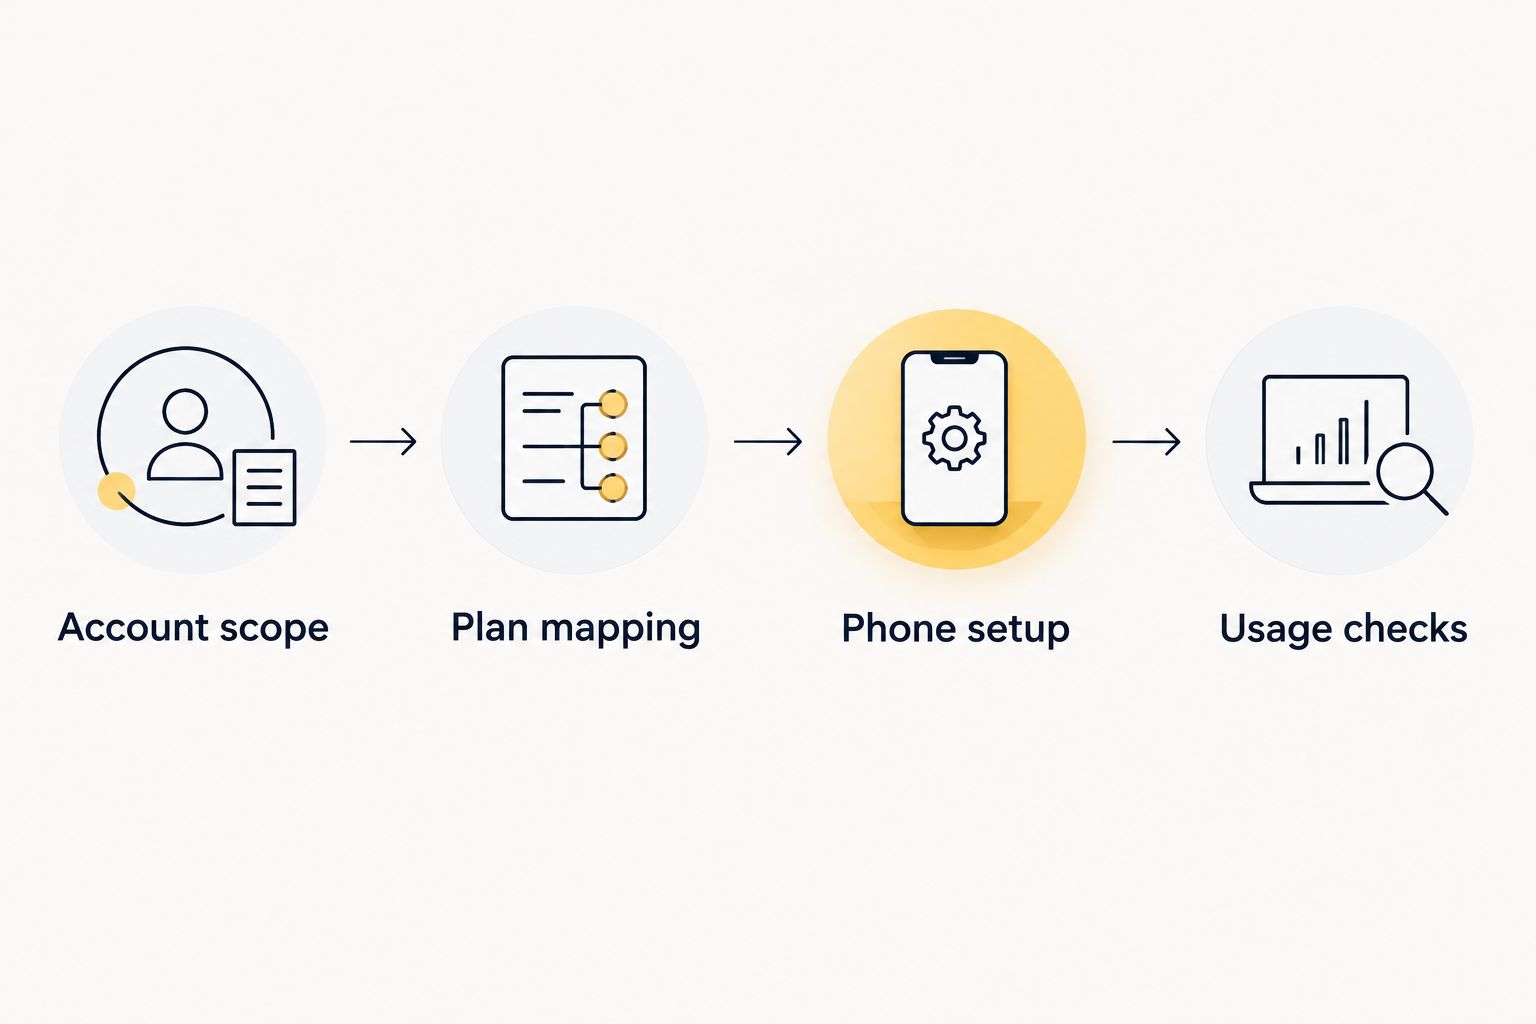
Complete Account scope, then Plan mapping, then Phone setup, and finally Usage checks. Do not start with installation and try to reconstruct ownership afterwards.
Phone setup
Install on the intended device
- Give the intended traveller access to their installation instructions while the phone has an internet connection. Keep the family record open so the plan reference stays visible.
- Follow the provider's installation method on that phone. If the instructions provide an app-based action, use that action; do not substitute an assumed button or scan another traveller's code.
- On an iPhone using the Canadian English interface, open Settings, then Cellular, then Add eSIM when the installation instructions require the phone's setup flow. Follow the method supplied for that purchase.
- On Android, follow the device's eSIM installation flow and the provider's instructions. Android menu names vary by manufacturer and software version, so use the labels shown on that exact phone.
- Give the installed line a recognisable label where the phone allows it. A label identifies a line locally; it does not rename a plan in the provider account or prove account ownership.
Expected result: The intended travel line appears on the intended phone. Record installation as complete, but do not record mobile data as working until you test the connection.
Select the travel line for data
- On iPhone, open Settings, then Cellular, then Cellular Data, and select the intended travel line. On Android, select the intended SIM in the phone's mobile-data settings.
- Set Data Roaming for the travel line according to the provider's instructions. Do not apply that instruction indiscriminately to the home line.
- On iPhone, review Allow Cellular Data Switching. Turn it off if you want to prevent automatic data switching to another line; review the equivalent behaviour on Android.
- Keep the home line's calls and messages separate from the travel-data decision. Check your home carrier's roaming terms before leaving that line active abroad.
- At the destination, turn Wi-Fi off briefly and load a webpage. Check that the selected mobile-data line is the intended travel eSIM, then restore Wi-Fi as needed.
Expected result: The phone connects using the intended travel-data line, with the home line configured deliberately rather than left to automatic switching.
Use 2 separate checks per phone: first confirm installation, then confirm mobile-data service. A successful installation alone does not demonstrate destination coverage or a working network connection.
For a detailed explanation of keeping your home line alongside travel data, read the dual-SIM home-number setup guide.
Usage checks
Review balances and top up the correct plan
- Set 1 scheduled check per day as the family's starting routine. Add a check before anyone leaves the group for a journey that depends on mobile maps or messaging.
- Open the relevant plan's usage information in the A-sim app. Where the organiser cannot access that plan, have the traveller check it and update the shared record.
- Record the remaining allowance, remaining validity, and time checked. Use the phone's data counter as a separate reference, not as proof of the provider's remaining balance.
- Before a top-up, match the traveller, phone, and plan reference. Review the displayed top-up terms and confirm that the action applies to the intended plan.
- Complete the top-up through the app and check the resulting plan information. Tell the traveller what changed, particularly whether validity changed or only data was added.
Expected result: You have a dated family overview and a verified record of the plan receiving each top-up. No traveller needs to guess whether another family member's balance is theirs.
A-sim app-based top-ups support travel eSIM management; they do not replace plan identification. Do not treat a completed account action as proof that another phone has selected the correct data line.
For your 2026 routine, increase checks when someone changes destination or starts using data differently. Keep the trigger practical: review before separation, before a border crossing, or before a data-heavy activity—not only after connectivity fails.
When a traveller changes destination
A destination change needs a coverage check, not an automatic top-up. More data on the wrong geographic plan does not solve a coverage mismatch.
- Update the traveller's destination and dates in the family record.
- Compare the new destination with the current plan's coverage and validity.
- If another plan is needed, follow its installation instructions and record it separately. Do not delete a working line just to tidy the phone's list.
- Select the intended data line and repeat the mobile-data test on arrival.
Expected result: The traveller's destination, plan reference, and phone settings agree again. Apply this variant independently for each family member; one person's onward journey does not change everyone else's needs.
Troubleshooting
The organiser cannot see another traveller's plan
Check the purchase record, account used, and recipient details. Use the account that actually manages the plan; if central access is not supported, have the traveller perform the action and update the shared record. Sharing credentials is not a substitute for account permissions.
Installation succeeds, but mobile data does not work
Confirm that the travel line is enabled and selected for mobile data. Check destination coverage, plan validity, remaining allowance, and the provider's roaming instructions. Restart the phone after correcting settings; do not delete the eSIM as the first troubleshooting step.
An installation code fails on another phone
Stop attempting to reuse it. Check which device already received that installation and follow the provider's transfer or replacement instructions. Treat the code as belonging to its intended installation, not as a family-wide login.
The phone's data counter differs from the app
Check the phone counter's measurement period and the selected line. A device counter and a provider balance measure different things; use the plan's account information for remaining allowance and validity, and the device counter to investigate usage patterns.
A traveller cannot get online to top up
Reconnect through a trusted Wi-Fi network or another permitted connection. If the organiser has access to the correct plan, the organiser can handle the app-based action. Keep a backup connection route in the trip record rather than relying on exhausted data to recover itself.
Customize your workflow
Keep your 2026 family workflow focused on ownership, coverage, and access. Add destination-change reminders for travellers taking different routes, and assign another responsible adult a clear recovery role without sharing passwords casually.
A-sim travel eSIM management gives you app-based usage checks and top-ups. Build the family routine around those supported actions, and leave automatic top-ups, pooled allowances, or remote device control out of the process unless the account explicitly provides them.
Save each traveller's essential arrival information offline. The management routine should help the trip continue when someone loses connectivity, not require connectivity for every decision.
FAQ
Can I manage family eSIM plans from one account?
Use one account only for the family plans it explicitly allows you to access and manage. Confirm purchase-for-others and post-installation management before setup; one login does not establish pooled data or family permissions.
Does A-sim have a shared family data allowance?
Do not treat separate A-sim travel eSIMs as a shared family allowance unless the plan terms explicitly say so. Keep each traveller's usage, validity, and top-ups attached to the correct plan.
Can everyone install the same eSIM code?
Do not distribute one installation code as a family-wide connection. Follow the installation instructions for each intended phone and use the provider's process for any transfer or replacement.
Can I top up a family member's travel eSIM?
You can perform the top-up only through an account with access to that plan and the relevant management action. Match the traveller, phone, and plan reference before confirming the app-based top-up.
Should I install family eSIMs before departure?
Check the plan's activation and validity rules before deciding when to install. Prepare the instructions and device checks ahead of departure, but do not assume installation leaves the validity period untouched.
Can my family keep home numbers while using travel data?
Compatible dual-SIM phones can keep a home line alongside a travel-data line. Select the travel line for mobile data and check the home carrier's terms before using calls or messages abroad.
What should I check when a family member runs out of data?
Check remaining allowance, validity, destination coverage, and the selected phone data line before taking action. Add data only to the correct plan, and use another internet connection if the traveller cannot reach the app.
One last thing
Never delete a travel eSIM merely because its display label looks wrong. A phone label is an organisational aid, not an installation credential. Correct the record and settings first; deletion can turn a simple identification problem into a reinstall or replacement task.
Before leaving, ask each traveller to identify their travel-data line and the person responsible for top-ups. That small check tests whether the workflow is understandable without the organiser standing beside every phone.